PELLUCID FORMS TUTORIAL
Create a fillable PDF.
Start with two fields.
Turn a one-page project review into a reusable form with a reviewer name and a notes box. You’ll add the fields in Design, save a blank template, and test a separate filled copy.
WHAT YOU’LL MAKE
A name and a place
for the details.
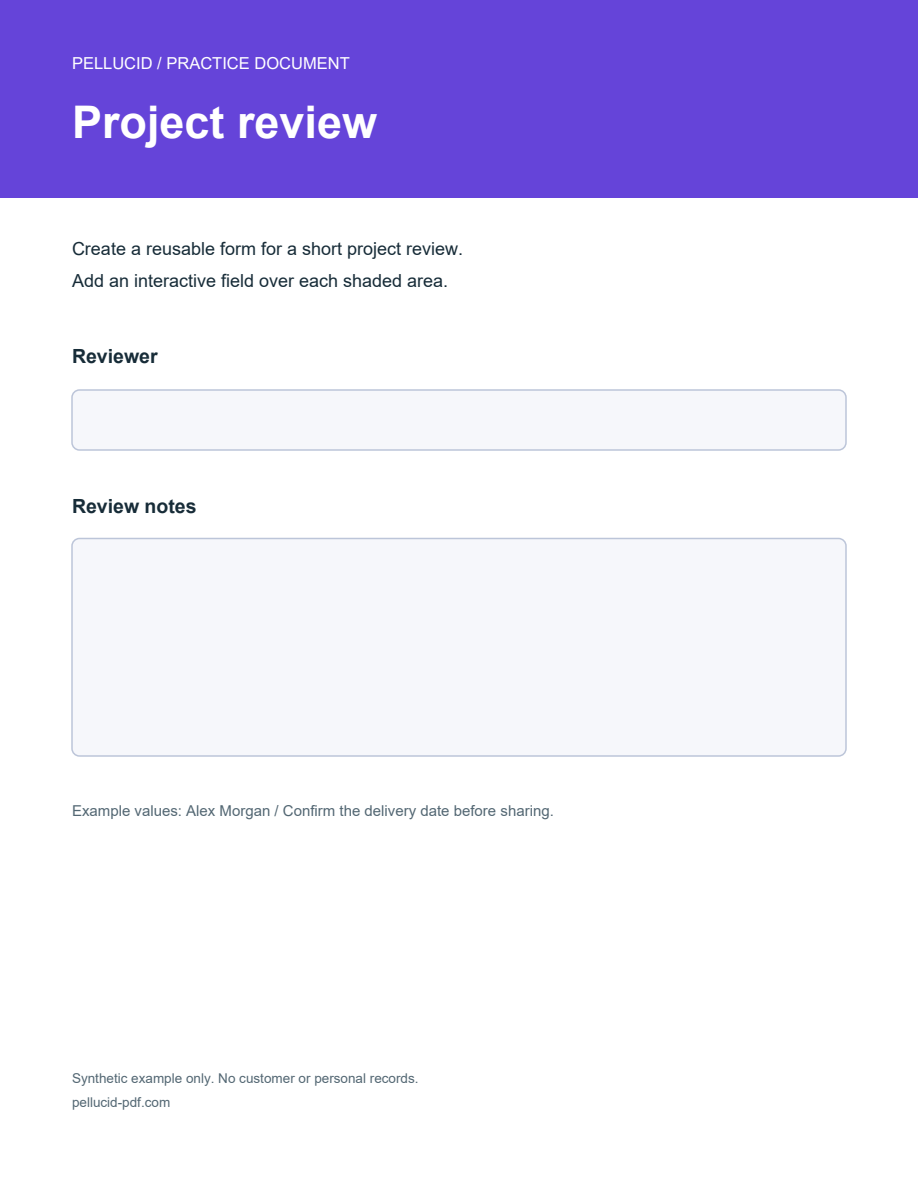
The practice PDF has printed labels and shaded spaces, but no interactive fields. That’s intentional: you’ll create them in Pellucid.
Use an active trial or eligible paid license. The guide uses the Forms controls in Pellucid 1.0. The illustrations show field placement on the example document, not screenshots of the application.
If your PDF already has interactive fields and you just want to enter values, use the filling guide instead.
01 / PREPARE
Open the sheet in Design.
Open project-review-blank.pdf in Pellucid. Choose Forms in the sidebar, then choose Design. Use Fit page or a comfortable zoom so you can see the two shaded areas.
For your own document, prepare the printed labels and layout before exporting it to PDF. A field name is an internal identifier; it won’t replace the label printed beside it.
02 / REVIEWER
Add a single-line text field.
- Choose the Text field tool.
- Drag across the smaller shaded area below Reviewer to set the field’s size. A click without dragging creates a default-size field instead.
- Choose Select and select the new field. In the Forms Design inspector, enter
Reviewerunder Field name. - Press Enter or choose Apply name to accept the name. Keep Multiline off and Read-only off.
Field names must be unique and can’t contain a period. Use a short descriptive name so you can recognize the field later.
03 / REVIEW NOTES
Give longer answers more room.
- Choose Text field again and drag across the larger shaded notes area.
- Select the new field and name it
ReviewNotes. Press Enter or choose Apply name. - Turn Multiline on in the inspector. Keep Read-only off so the person filling the form can type into it.
- Use Select to adjust the field’s position or size if it doesn’t fit the shaded area.
Enabling Multiline is separate from drawing a tall box. Set both so the field can accept a longer response.
04 / SAVE THE DESIGN
Keep a blank template.
Open Deliver → Save As… and save a new file named project-review-template.pdf. Use an ordinary PDF save, not a flattened export.
Close the document and reopen the saved template. Choose Forms → Fill. Saving the design first makes the newly created fields available to the filling workflow.
05 / FILL AND CHECK
Test the saved fields.
- Enter Alex Morgan in Reviewer.
- Enter Confirm the delivery date before sharing. in ReviewNotes. These are synthetic example values.
- Use Deliver → Save As… again, this time naming the output
project-review-filled.pdf. This keeps the blank template separate. - Close and reopen the filled copy. Check that both values are still present, that the notes fit, and that the fields remain editable.
Before using the form with other people, also test the saved file in the PDF reader they’ll use. Keep the blank template for the next review.
IF SOMETHING DOESN’T LOOK RIGHT
Check the field, then the save.
I can select the box, but I can’t type into it.
Save the design, reopen the saved file, and switch to Forms → Fill. In Design, selecting a field edits its layout and properties rather than entering an answer. Check that Read-only is off.
The field name didn’t change.
Press Enter or choose Apply name after editing the name. If the inspector shows a validation error, choose a unique name without a period.
The notes stay on one line.
Save or revert pending Fill changes, return to Design, select ReviewNotes, and enable Multiline. Save the updated design and test it again in Fill.
Will this automatically convert a scanned form?
No. These steps add fields manually. They don’t perform OCR, detect fields automatically, or make unsupported XFA forms editable. Start with the supplied ordinary PDF to learn the workflow.
MAKE IT YOUR OWN
Use the same steps
on your next form.
Try supported text fields and choices with your own documents during the 14-day trial.
More about PDF forms in Pellucid →